It often takes little effort to improve the speed of the internet at home. Here are some tips and tricks to improve your wireless network speed. It is worth trying them out.
Changing the wireless network frequency band
All devices using wireless Wi-Fi connectivity operate at 2.4 GHz. This means that with a large number of devices and networks, signals can interfere with each other. Microwaves and remote-controlled toys also work on the same frequency. However, a lot of devices already support 5 GHz connectivity, which is usually much less crowded, and thus – the interferences within it are much smaller.
If our router supports both 2.4 GHz and 5 GHz, we can activate both values in the device’s admin panel or leave only the higher one. In the latter case, however, you have to make sure that all the devices you use can operate at 5 GHz, otherwise you will not be able to connect to them. The band settings option is usually available in the Wireless network (wireless) tab. Description how to enter router’s admin panel can be found in its user manual. However, most often you can get to it by typing 192.168.1.1 or 192.168.0.1 in the address bar of your browser, and then logging in to the displayed page. If you have problems accessing the panel, contact your Internet service provider.

However, please note that by using 5 GHz, we reduce the real range of our network from about 70 to about 35 meters indoors. Most often, however, such a range will be sufficient if you place the router in an optimal location, and reducing interference will compensate for the reduced range.
Setting up a second antenna in the router
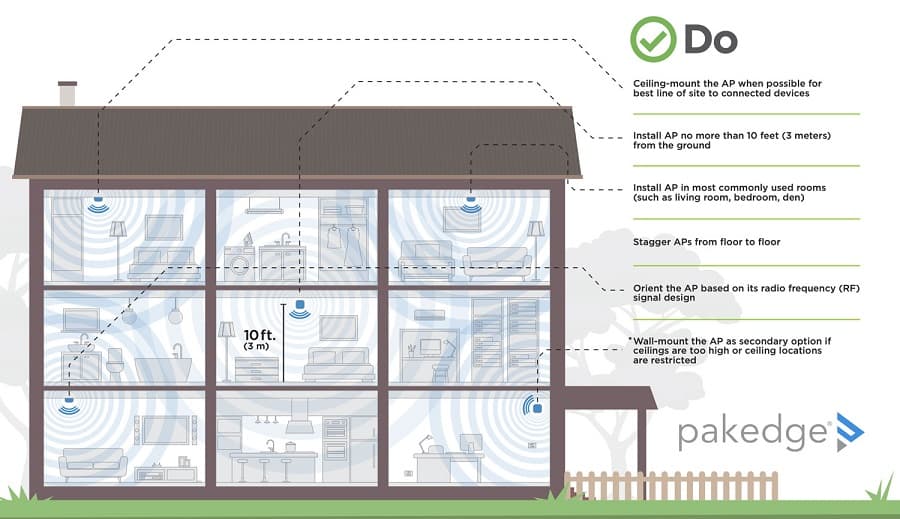
Most often used in routers are small omnidirectional antennas that send the signal sideways. In practice, it means that the best range in one storey is obtained when the antenna is placed vertically. But what if we want to cover several floors of our house with one router? One of the solutions is to install two antennas in the router (if possible), and then set one vertically and the other horizontally, which will allow to send stronger signal up and down.
Correct positioning of the router
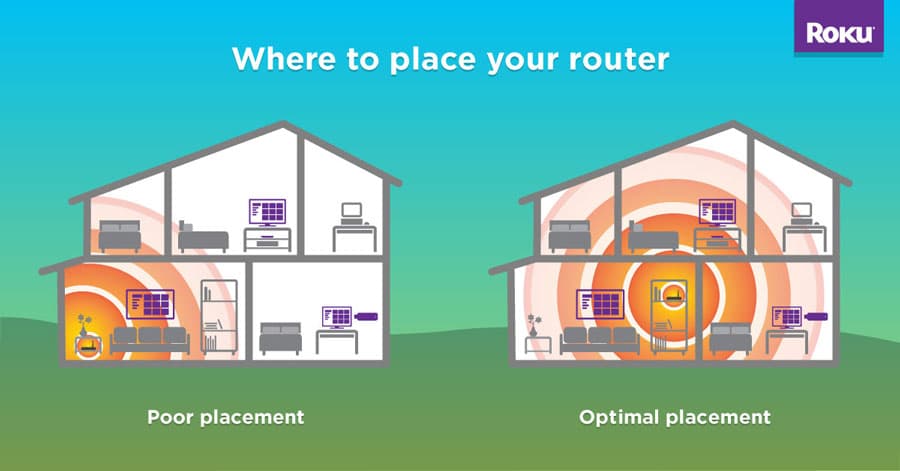
The proper placement of the router in the home is a key issue that many users still forget about. The main rule is simple – the router should be as close as possible to the central location of your home. As the signal propagates around the device, setting it at the external wall of the apartment or building will be a big waste of its power, unless we care about the Wi-Fi coverage, for example in the home garden. The router should also not stand on the floor – it is best to place it on some piece of furniture, which will improve the propagation of waves.
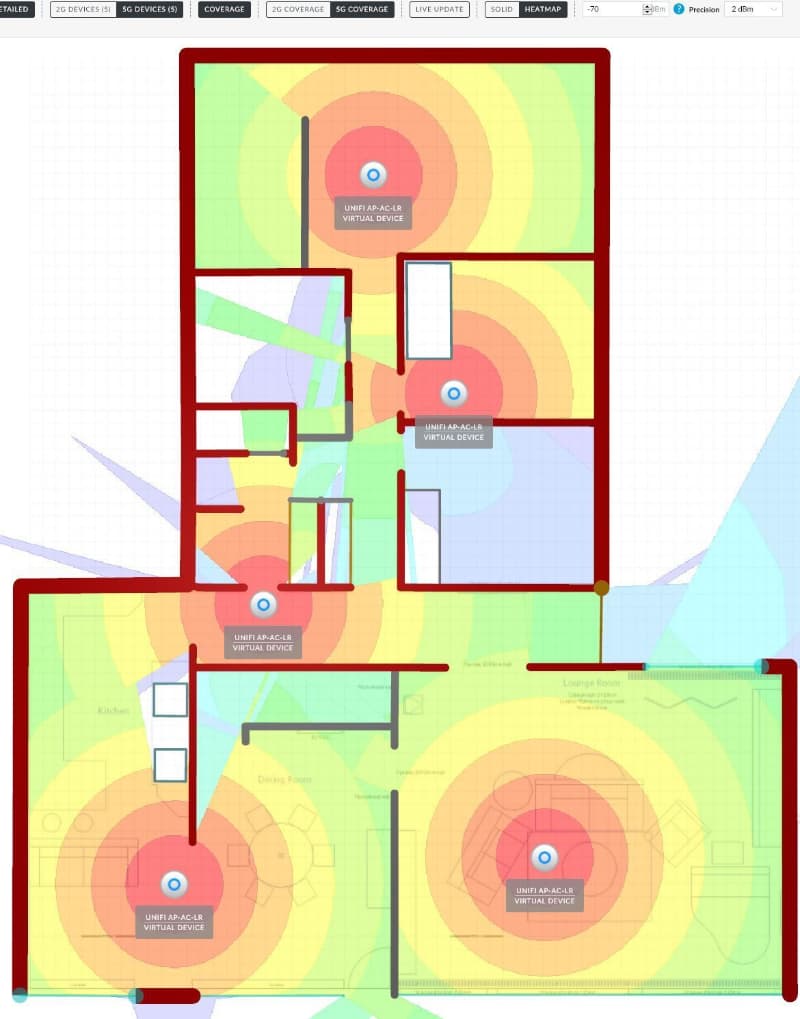
However, it should be remembered that there are many factors that influence the propagation of the signal. The most obvious are walls, windows and doors. Their number, thickness and even the materials they are made of influence how strong the signal from the router is received on their other side. It is also necessary to make sure that there are no other electrical devices (TV set, microwave oven, etc.) or large metal objects, such as radiators, nearby. They have a negative impact on signal quality and may cause that even from a short distance we will not get the full capacity of our Internet connection.

The signal quality in different places of our house can be measured by ourselves with a smartphone. There are many applications showing the strength of Wi-Fi signal in real time. In the main window of these program, as soon as it is launched, statistics of all networks whose signal reaches our smartphone are displayed. All you have to do now is find the name of your network among them, and then walk through all the rooms to see how strong the signal is getting there. If we notice high drops, we can correct the location of the router until we get the optimal result.
Leaving a crowded channel
If it is impossible for us to switch to 5 GHz for some reason, we have another possibility to fight against too much interference. We are talking about choosing another channel of transmission. By default, the router will adjust the channel it will be using on its own during the first configuration. In the 2.4 GHz band, however, some of the channels overlap, so it is worth to choose one that is as far away as possible from those used by the most devices around us (usually channels 1 and 6).
To check which channels are the most crowded, the mobile apps mentioned above can be used. The graph on the main screen shows the distribution of specific networks on channels 1 to 14 (horizontal axis). In the third tab, called Best Channels, you will find information about which channels offer the least interference. The applications itself also suggest to which of them it is best to move to in a given location – information about this is at the bottom of the screen. After choosing the optimal channel you should change it in the router settings. To do this, enter the administration panel again and find the tab responsible for wireless network settings. Changing the channel in many devices will require going to advanced settings. However, in each case we have to look for an option marked simply as a channel. Next, from the drop-down list, select the appropriate value. After restarting the router our network will work with the new settings.
Changing the router transmission power
Some routers allow you to set the power. Depending on the manufacturer and model, the default value may not be the highest. The maximum (legally) possible power we can use in most countries is 100 mW for 2.4 GHz.

If our router allows you to adjust the power setting, you will find this option in the advanced settings in the admin panel. It can have percentage values, specified in milliwatts, or – as in our example – three levels marked as weak, medium and strong. The higher the power, the greater the network range.


